Spacewalk is an open source Linux systems management solution. Spacewalk is a community project and Red Hat Satellite has derived from Spacewalk. Spacewalk can manage all Red Hat derived Linux distributions like Fedora, CentOS, Scientific Linux, Oracle Linux,…
Spacewalk enables you to inventory your systems, manage configuration, act as central repository for your systems, monitor your systems and so on. You can choose to use PostgreSQL or Oracle Database XE (Express max 3GB database) database. I have been using Spacewalk with PostgreSQL for some time now and am quite happy with it. I currently have subscribed 40+ Linux systems in mixed distributions (CentOS 5, 6 and Oracle Linux 5, 6) and it works OK. I wonder how Spacewalk manages in environments with 100+, 200+ systems… In this post i will explain how to install Spacewalk with PostgreSQL on CentOS 6.
What Can Spacewalk Do?
Spacewalk is an open source (GPLv2) Linux systems management solution that allows you to:
- Inventory your systems (hardware and software information)
- Install and update software on your systems
- Collect and distribute your custom software packages into manageable groups
- Provision (kickstart) your systems
- Manage and deploy configuration files to your systems
- Monitor your systems
- Provision and start/stop/configure virtual guests
- Distribute content across multiple geographical sites in an efficient manner.
Pre-requisites – before you install Spacewalk:
- 12GB or more free disk space on PostgreSQL partition
- Working FQDN name resolution
Spacewalk configure script checks /usr/share/pgsql and /var/lib/pgsql locations (default PostgreSQL install location on CentOS) for disk space availability (< 12GB). You need to make sure more than 12GB of free space is available at these locations! You can solve this by creating a large root partition or to create new mount points with more that 12GB of free space.
Let’s Install Spacewalk on CentOS 6!
1. Disable SELinux and IPtables
For this guide SELinux and iptables were disabled and CentOS 6 was fully updated!
2. Install wget for Jpackage repo
[root@foo1 ~]# yum install wget -y
3. Set up necessary repositories
[root@foo1 ~]# rpm -Uvh http://yum.spacewalkproject.org/2.0/RHEL/6/x86_64/spacewalk-repo-2.0-3.el6.noarch.rpm
[root@foo1 ~]# rpm -Uvh http://mirror.muntinternet.net/pub/epel/6/i386/epel-release-6-8.noarch.rpm
[root@foo1 ~]# wget http://www.jpackage.org/jpackage50.repo
[root@foo1 ~]# mv jpackage50.repo /etc/yum.repos.d/
4. Install PostgreSQL database
In this guide we will be configuring Spacewalk to work with PostgreSQL database. Spacewalk has prepared automated install of PostgreSQL. It is simple, efficient and fast – the obvious choice.
[root@foo1 ~]# yum install spacewalk-setup-postgresql -y
5. Install Spacewalk
[root@foo1 ~]# yum install spacewalk-postgresql -y
6. Configure Spacewalk
Run spacewalk-setup in disconnected mode and enter the information it asks you for.
[root@foo1 share]# spacewalk-setup --disconnected
** Database: Setting up database connection for PostgreSQL backend.
** Database: Installing the database:
** Database: This is a long process that is logged in:
** Database:   /var/log/rhn/install_db.log
*** Progress: #
** Database: Installation complete.
** Database: Populating database.
*** Progress: ####################################
* Setting up users and groups.
** GPG: Initializing GPG and importing key.
** GPG: Creating /root/.gnupg directory
You must enter an email address.
Admin Email Address? info@geekpeek.net
* Performing initial configuration.
* Activating Spacewalk.
** Loading Spacewalk Certificate.
** Verifying certificate locally.
** Activating Spacewalk.
* Enabling Monitoring.
* Configuring apache SSL virtual host.
Should setup configure apache's default ssl server for you (saves original ssl.conf) [Y]?
** /etc/httpd/conf.d/ssl.conf has been backed up to ssl.conf-swsave
* Configuring tomcat.
** /etc/sysconfig//tomcat6 has been backed up to tomcat6-swsave
** /etc/tomcat6//server.xml has been backed up to server.xml-swsave
** /etc/tomcat6//web.xml has been backed up to web.xml-swsave
* Configuring jabberd.
* Creating SSL certificates.
CA certificate password?
Re-enter CA certificate password?
Organization? GeekPeek.Net
Organization Unit [foo1.geekpeek.net]?
Email Address [info@geekpeek.net]?
City? Ljubljana
State? Slovenia
Country code (Examples: "US", "JP", "IN", or type "?" to see a list)? SI
** SSL: Generating CA certificate.
** SSL: Deploying CA certificate.
** SSL: Generating server certificate.
** SSL: Storing SSL certificates.
* Deploying configuration files.
* Update configuration in database.
* Setting up Cobbler..
Processing /etc/cobbler/modules.conf
`/etc/cobbler/modules.conf' -> `/etc/cobbler/modules.conf-swsave'
Processing /etc/cobbler/settings
`/etc/cobbler/settings' -> `/etc/cobbler/settings-swsave'
Cobbler requires tftp and xinetd services be turned on for PXE provisioning functionality. Enable these services [Y]?
* Restarting services.
Installation complete.
Visit https://foo1.geekpeek.net to create the Spacewalk administrator account.
7. Configure Spacewalk Admin user
Please visit https://hostname.domainname and create Spacewalk Web Administrator user.
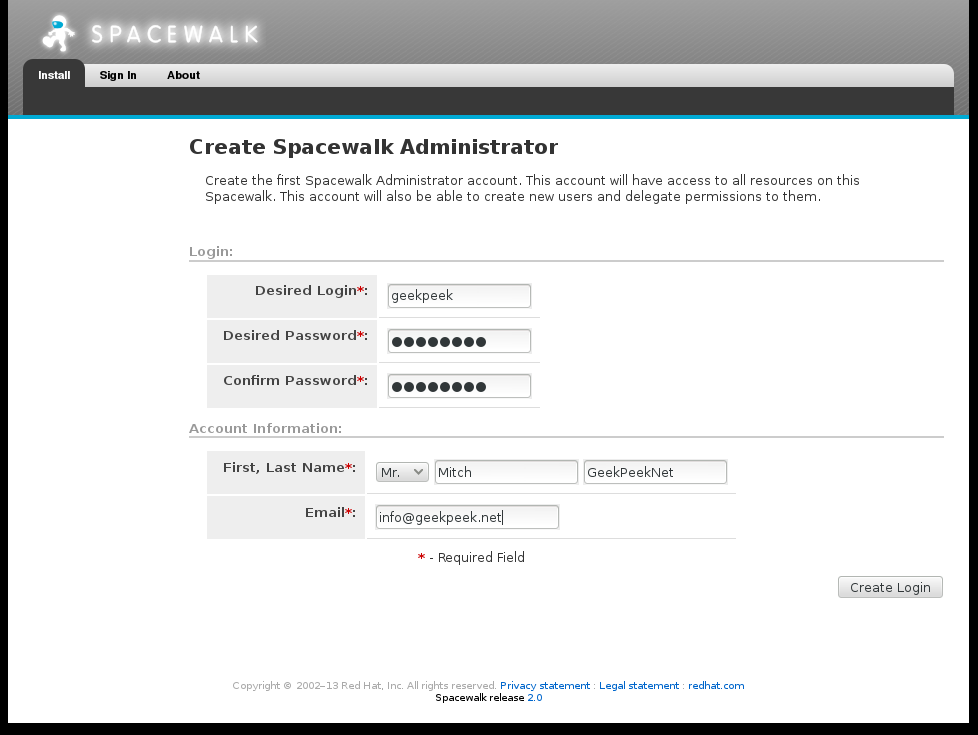
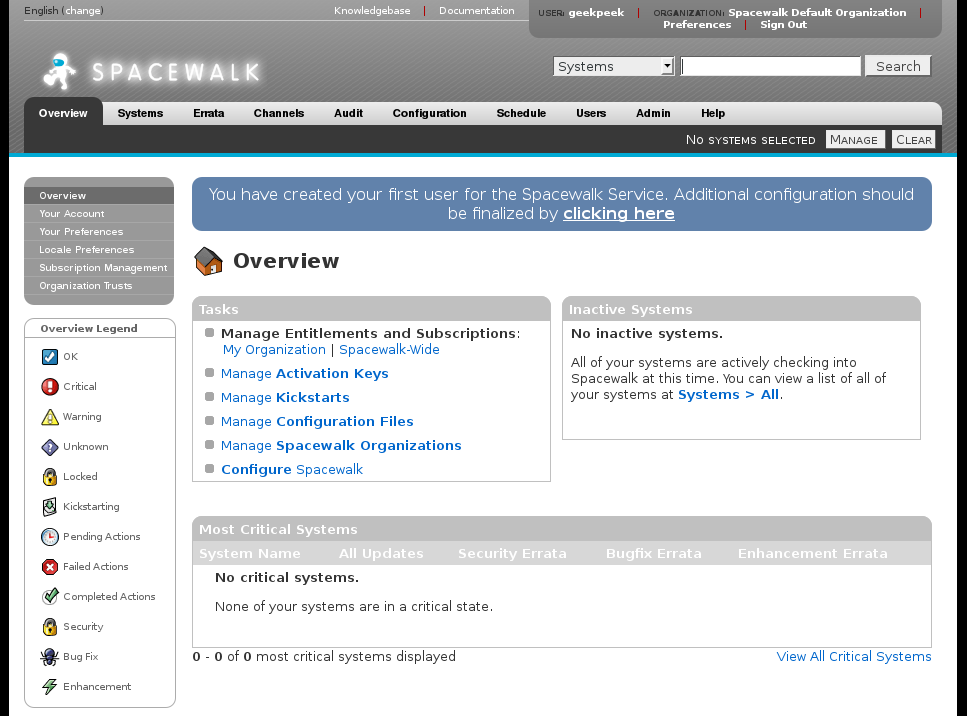
Click “Create Login” and voila! You are inside your Spacewalk instance. Now you need to add your systems in your Spacewalk Management, create Software Channels, Repositories, Configuration Channels and so on… We finished our “Install Spacewalk on CentOS 6” guide!
I will be covering all this in my next post on Spacewalk! Stay tuned! 🙂