This is the latest post on how to install Nagios Core 4.1.1. on latest CentOS 7.2 linux. Nagios is well known as a great monitoring tool which can be quite scalable and really undemanding from resource point of view. Nagios configuration can be a bit mind boggling at first, but gets easier after some usage. Nagios is very customizable in every point of view from monitoring checks to alert messaging and more.
Nagios Core is the free DIY version while student, pro and business versions offer additional features and licenses also.
Running Nagios Core 4.1.1. on CentOS 7
The following tutorial was written and tested on up to date CentOS Linux release 7.2.1511 (Core) minimal installation with SELinux and FirewallD service turned on.
1. Download and Unpack Nagios Core 4.1.1.
You can download Nagios Core 4.1.1. to your CentOS with wget. Visit Nagios webpage and go to downloads section. Nagios Core is freely available for download. Once downloaded unpack it and move it to the desired directory.
Since i am running CentOS 7 64bit minimal installation i’m missing the wget package, but this can easily be installed with “yum install wget”. Unpacking should not be a problem even if you are running minimal install.
[root@geekpeek downloads]# wget https://assets.nagios.com/downloads/nagioscore/releases/nagios-4.1.1.tar.gz
[root@localhost downloads]# tar -xvzf nagios-4.1.1.tar.gz
8. Download and Unpack Nagios Plugins
You also need to install Nagios plugins. These are the scripts making to make checks on Nagios hosts. Without this Nagios is pretty useless.
Download the latest Nagios Plugins and unpack the tar file.
[root@localhost downloads]# wget http://nagios-plugins.org/download/nagios-plugins-2.1.1.tar.gz
[root@localhost downloads]# tar -xvzf nagios-plugins-2.1.1.tar.gz
2. Install Nagios Core 4.1.1. dependencies
There are some required packages for Nagios Core to work on your system normally. Run the command below to install them.
[root@localhost downloads]# yum install -y wget httpd php gcc glibc glibc-common gd gd-devel make net-snmp unzip
3. Take care of Nagios User and Group
We need to create a user “nagios” and group “nagcmd” to be used for running Nagios Core 4.1.1. instance. The user “nagios” must be added to “nagcmd” group.
Run the following commands to make this happen.
[root@localhost downloads]# useradd nagios
[root@localhost downloads]# groupadd nagcmd
[root@localhost downloads]# usermod -a -G nagcmd nagios
Once that is done change the ownership of the nagios-4.1.1 folder from Step 1 to “nagios” user and “nagcmd” group.
Do note the “-R” parameter used. It is taking care of recursive ownership change for all files and folders within nagios-4.1.1 folder.
4. Configure and Install Nagios Core 4.1.1.
Move to the nagios-4.1.1 folder to run the required “configure” and “make install” commands. The “configure” command will let installation process know we want to use “nagcmd” group for Nagios related files and processes.
[root@localhost ~]# cd nagios-4.1.1
[root@localhost nagios-4.1.1]# ./configure --with-command-group=nagcmd
This process should end with a configuration summary report. Review it and if all seems good procees with the “make install” commands.
Please note that “make all/install” processes should complete without errors. If you run into an error like:
make[1]: Entering directory `/opt/nagios-4.1.1/html’
(cd angularjs && unzip -u angular-1.3.9.zip)
/bin/sh: unzip: command not found
make[1]: *** [all] Error 127
make[1]: Leaving directory `/opt/nagios-4.1.1/html’
make: *** [all] Error 2review it closely and resolve it. In this specific case i need to install “unzip” package and run
[root@localhost nagios-4.1.1]# make all
[root@localhost nagios-4.1.1]# make install
[root@localhost nagios-4.1.1]# make install-init
[root@localhost nagios-4.1.1]# make install-config
[root@localhost nagios-4.1.1]# make install-commandmode
[root@localhost nagios-4.1.1]# make install-webconf
4. Copy Nagios Eventhandlers
Copy folder “contrib/eventhandlers” recursively from Nagios Core 4.1.1. tarball to local installation folder “/usr/local/nagios/libexec” and change ownership to “nagios” user.
[root@localhost nagios-4.1.1]# cp -R contrib/eventhandlers/ /usr/local/nagios/libexec/
[root@localhost nagios-4.1.1]# chown -R nagios:nagios /usr/local/nagios/libexec/eventhandlers
5. Configure and Install Nagios Plugins
Move to the “nagios-plugins-2.1.1” folder and run the required “configure” and “make” commands. This will install the check scripts to “/usr/local/nagios/libexec/” folder.
[root@localhost nagios-4.1.1]# cd ..
[root@localhost ~]# cd nagios-plugins-2.1.1
[root@localhost nagios-plugins-2.1.1]# ./configure --with-nagios-user=nagios --with-nagios-group=nagcmd
[root@localhost nagios-plugins-2.1.1]# make
[root@localhost nagios-plugins-2.1.1]# make install
6. Create Nagios Web User
You need to create a web user with password to be able to access Nagios Core 4.1.1. instance via web once online.
You can create additional users you want to enable Nagios access also. Please see “htpasswd” command manual on how to append users to existing file.
[root@localhost nagios-plugins-2.1.1]# htpasswd -c -B /usr/local/nagios/etc/htpasswd.users nagiosadmin
New password:
Re-type new password:
Adding password for user nagiosadmin
7. Make Nagios Core 4.1.1. Start on Boot
Nagios is still using init scripts to start and stop so we need to use “chkconfig” to make it start at boot.
[root@localhost nagios-plugins-2.1.1]# chkconfig nagios on
8. Allow HTTP Traffic
In order to be able to access the Nagios Core web interface we need to allow HTTP traffic on port 80/TCP through FirewallD and not forget to reload FirewallD when done.
[root@localhost nagios-plugins-2.1.1]# firewall-cmd --add-service=http --permanent
[root@localhost nagios-plugins-2.1.1]# firewall-cmd --reload
9. Test Config and Start Nagios Core 4.1.1.
You should first check the Nagios configuration to errors. This can be easily done with the following command:
[root@localhost nagios-4.1.1]# /usr/local/nagios/bin/nagios -v /usr/local/nagios/etc/nagios.cfg
Make sure you have no errors and warnings and once that is covered you can start Nagios Core instance.
[root@localhost nagios-plugins-2.1.1]# /etc/init.d/nagios start
Reloading systemd:                                     [ OK ]
Starting nagios (via systemctl):                       [ OK ]
You also need to start Apache server to be able to access Nagios.
[root@localhost nagios-plugins-2.1.1]# service httpd start
Redirecting to /bin/systemctl start httpd.service
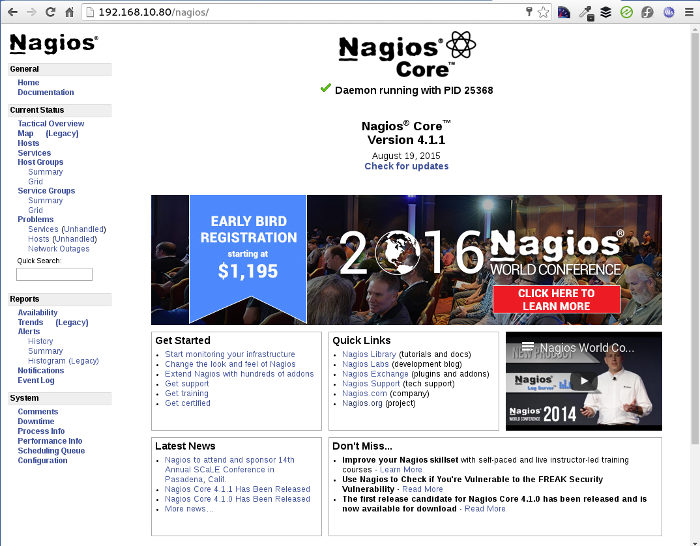
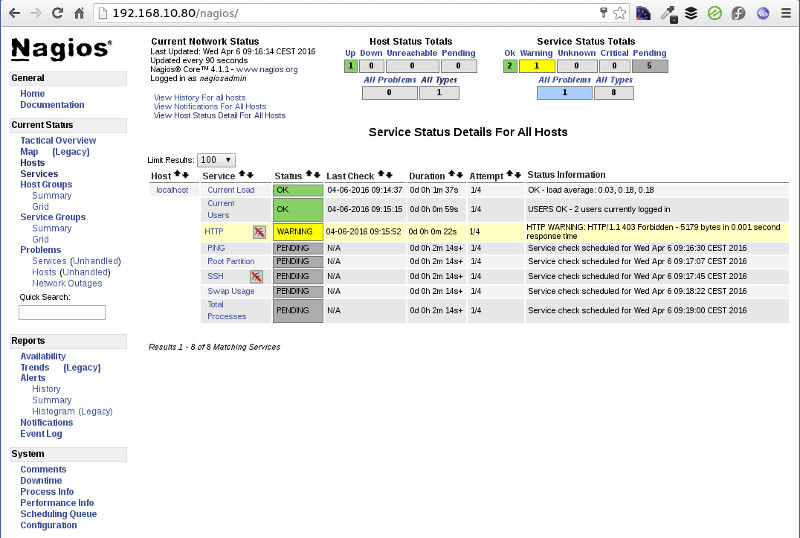
10. Access Nagios Core Web
Open up your web browser and point it to the IP address your Nagios instance is running on – for example: http://192.168.10.80/nagios
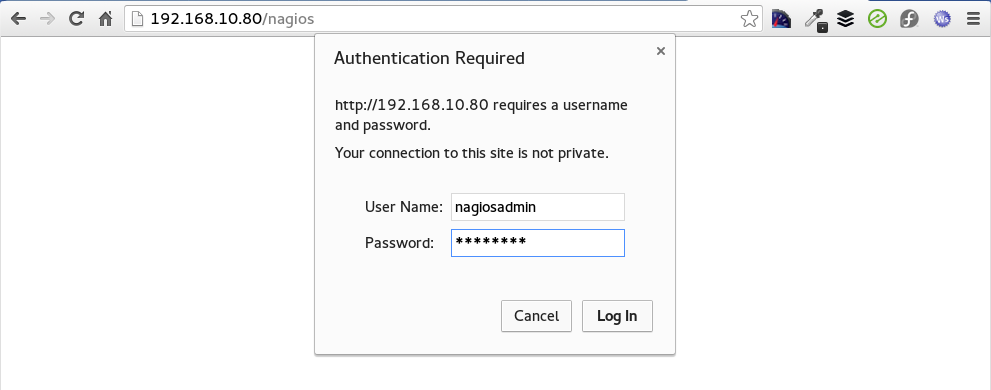
Log in with the user you have created in step 6 and your’re in!